Creating Dynamic Materials
In this tutorial we will create a new Dynamic Material Instance on blueprints to change texture as dynamically. We will use ZD Actor component to export Reality Editor actor as a node on Reality Setup.
Getting Started
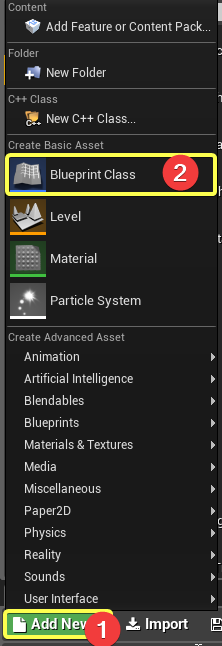
Click Add New + Blueprint Class on the Content Browser tab.
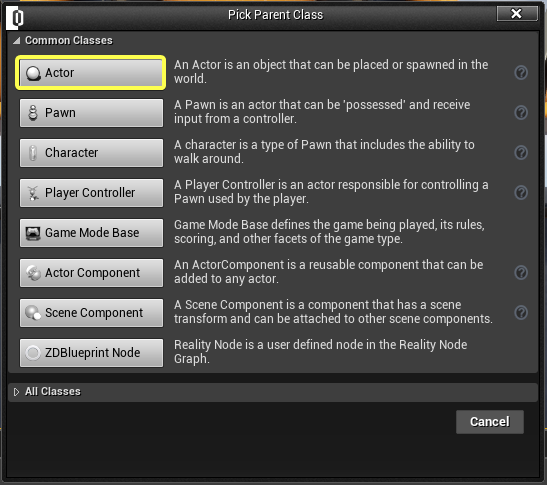
Select Actor.
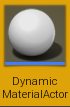
Rename it as DynamicMaterialActor (Note: You can hit F2 key to change rename if actor is selected.)
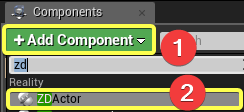
Double Click on DynamicMaterialActor. Click Add Component + ZD Actor.
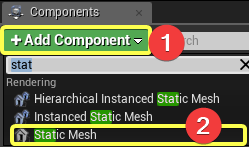
Click Add Component + Static Mesh.
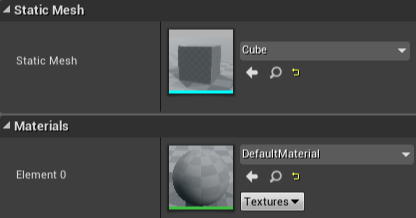
Click Statch Mesh under Components tab and change it as "Cube".
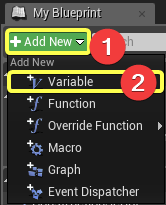
Click Add New + Variable under My Blueprints tab.

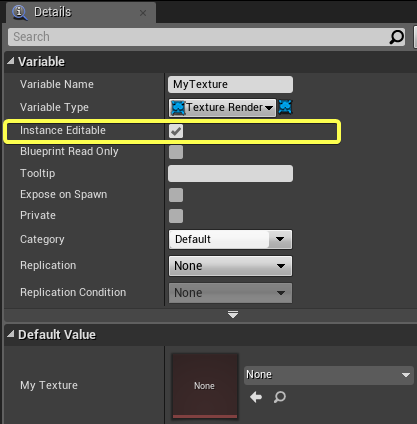
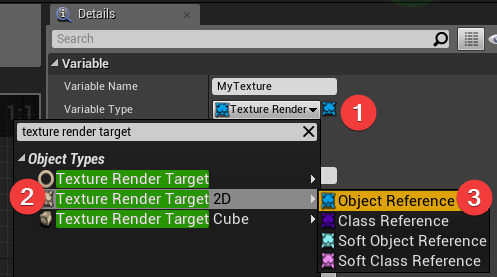
Click variable that you created on under Variables tab. The Details Panel(right side of screen) will be shown. Click Variable Type dropdown menu and select Texture Render Target 2D.
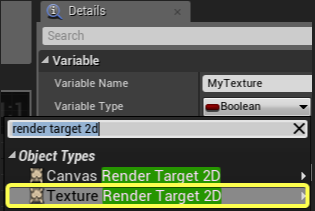
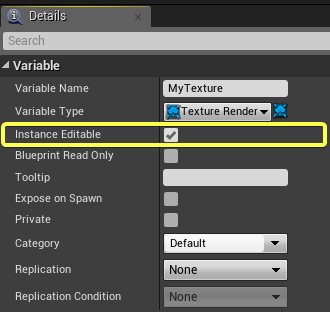
After changed variable type, Check Instance Editable(public).
Click Add New + Variable under MyBlueprint tab. Close blueprint tab.
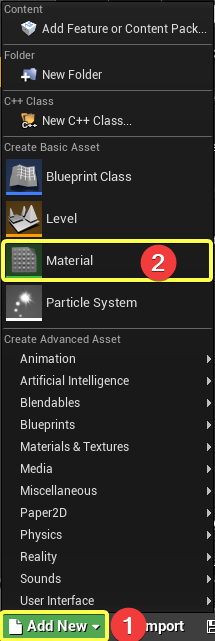
Click Add New + Material under Content Browser tab.
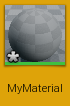
Rename it as MyMaterial. Double click on it.
Right Click onto space, search for TextureSampleParameter2D.
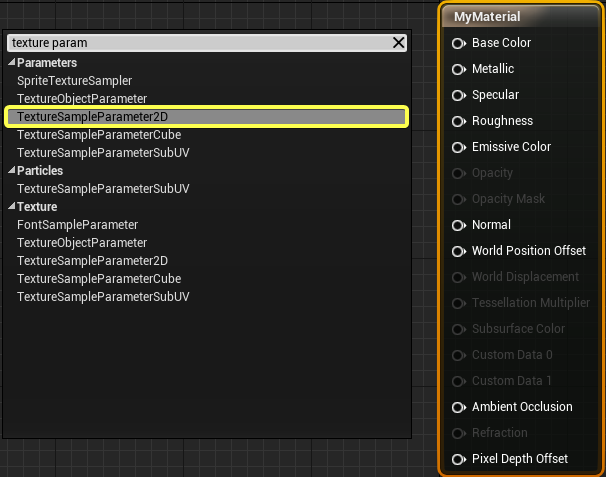
Rename the TextureSample as MyTextureParam and connect the nodes as shown in below.
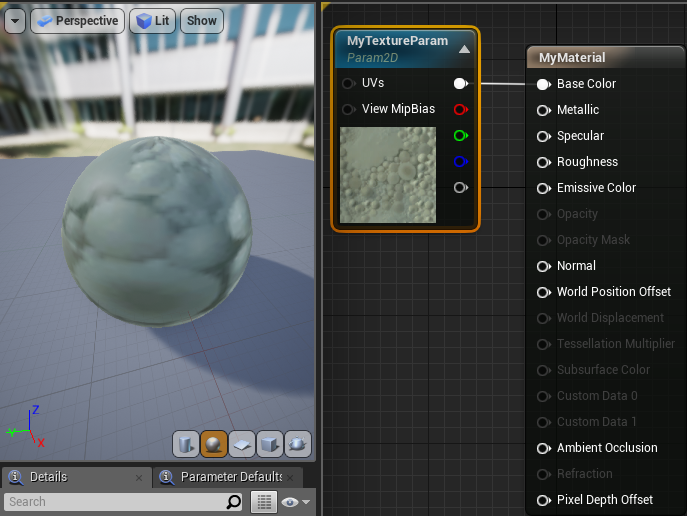
Click Save from top menu. Close the material blueprint tab.

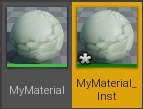
Right click on MyMaterial. Click Create Material Instance.
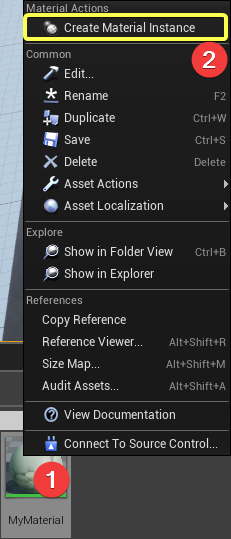
MyMaterial_Inst asset will be created automatically in Content Browser.
Double Click On DynamicMaterialActor
Click on Construction Script tab.

Right click onto space, search for "Get Static Mesh Variable".

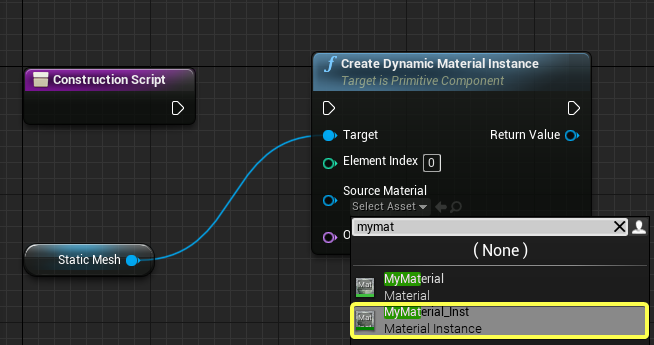
Right click on space, Search for "Create Dynamic Material Instance". Click Source Material on Create Dynamic Material Instance node.
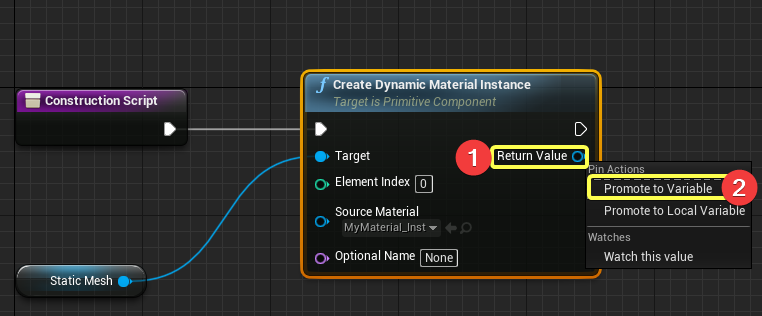
Right click the Return Value on the node. Click Promote to Variable.
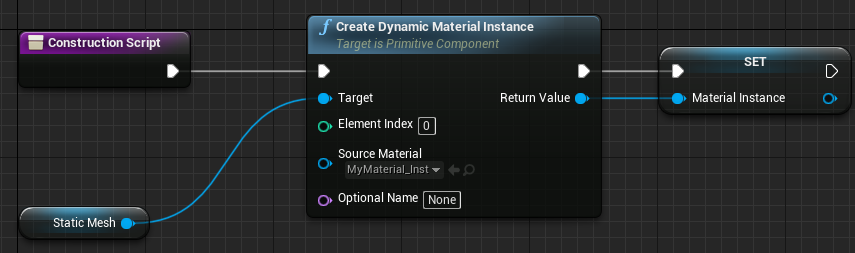
Connect the nodes as shown in below.
Click Add New + Variable.

Rename variable as MyTexture. Change variable type to Texture Render Target 2D Object.
Make variable public(instance editable).
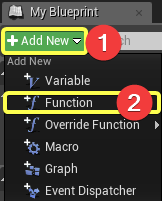
Click Add New + Function on My Blueprint tab.
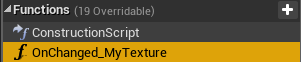
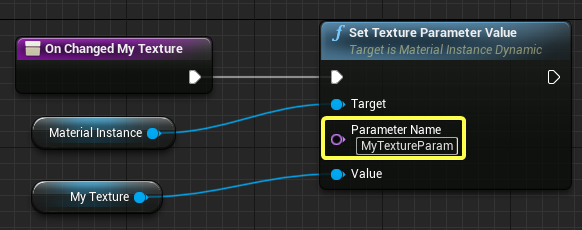
Rename function name as OnChanged_MyTexture.
Function Naming: The function naming for activating property change export, must be follow this format OnChanged_MyTexture (with underscore character). The function must be declared as public.
Double click on function name and connect the nodes as shown in below. Extend the Material Instance variable to get Set Texture Parameter Value. Make sure that you changed MyTextureParam.
Click Compile and Save

Put your Actor into the level.

Launch Reality Setup.
Click Play on Reality Editor.

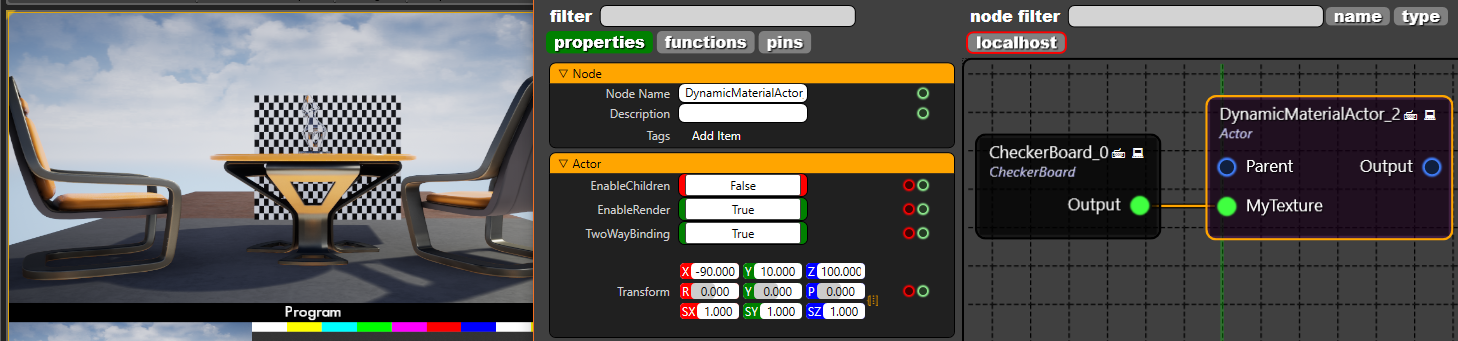
The Actor Node will be shown on Event Graph. My Texture node will be shown.

Node material will be changed when MyTexture property has changed.